Installing NVIDIA T4 and Anyware Graphics Agent 23.04 on AWS instance (ROCKY8- AWS EC2 G4dn)
- Install CAS+ Graphics Agent (Latest) on AWS EC2 Instance Environment.
- HW Specs - AWS EC2 Instance (AWS EC2 G4dn)
- Graphics Card - NVIDIA T4
- OS - ROCKY 8
- Reference Docs
- Install NVIDIA drivers on Linux instances
- Installing or updating the latest version of the AWS CLI
- Create AWS RHEL/CentOS EC2 VM meeting our minimum requirements.
- Choose an Instance Type: 2 vCPUs, 2GB RAM, 30 GB HDD (AWS EC2 G4dn)
- Configure Instance Details: (# of instances, network, subnet, IP Addresses, IAM Roles, etc.)
- Add Storage (min: 100MB for installation, 100MB for logging) 30GB to be safe.
- Add tags (optional)
- Configure Security Group (TCP 22, 443, 4172 | UDP 4172 ) all open inbound.
- Create pem key (NOTE: pem key is used to login)
- Launch EC2 Instance.
- Log into AWS Linux EC2 instance.
- Run "sudo yum update -y"
- Before proceeding with Graphics Agent for Linux installation, install a desktop environment. To install a desktop environment in RHEL or CentOS, use the following command:
- Verify that a desktop environment is installed.

- Before installing the NVIDIA drivers, install the libglvnd-opengl package:
- Install the AWS CLI on your Linux instance and configure default credentials. For more information, see Installing the AWS CLI in the AWS Command Line Interface User Guide.
- Your user or role must have the permissions granted that contains the AmazonS3ReadOnlyAccess policy. For more information, see AWS managed policy: AmazonS3ReadOnlyAccess in the Amazon Simple Storage Service User Guide.
- You just need to attach the IAM Role "GSS-Teradici" to your agent machine.
- Connect to your Linux instance. Install gcc and make, if they are not already installed.
- Update your package cache and get the package updates for your instance.
[ec2-user ~]$ sudo yum update -y - Reboot your instance to load the latest kernel version.
[ec2-user ~]$ sudo reboot - Reconnect to your instance after it has rebooted.
- Install the gcc compiler and the kernel headers package for the version of the kernel you are currently running.
[ec2-user ~]$ sudo dnf install -y make gcc elfutils-libelf-devel libglvnd-devel kernel-devel-$(uname -r) - Download the GRID driver installation utility using the following command: (Make sure AmazonS3ReadOnlyAccess policy is attached to your instance and Installing the AWS CLI before installing the NVIDIA.)
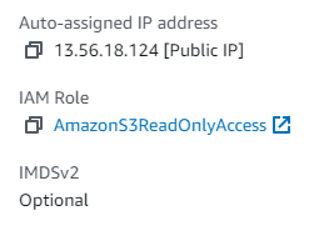
- [ec2-user ~]$ aws s3 cp --recursive s3://ec2-linux-nvidia-drivers/latest/ .

- Multiple versions of the GRID driver are stored in this bucket. You can see all of the available versions using the following command.
[ec2-user ~]$ aws s3 ls --recursive s3://ec2-linux-nvidia-drivers/ - Add permissions to run the driver installation utility using the following command.
[ec2-user ~]$ chmod +x NVIDIA-Linux-x86_64*.run Run the self-install script as follows to install the GRID driver that you downloaded. For example:
[ec2-user ~]$ sudo /bin/sh ./NVIDIA-Linux-x86_64*.runIf you see these warning message below make sure disable the nouveau open source driver for NVIDIA graphics cards.
Edit the /etc/default/grub file and add the following line:
GRUB_CMDLINE_LINUX="rdblacklist=nouveau"
Rebuild the Grub configuration.
sudo grub2-mkconfig -o /boot/grub2/grub.cfg


- When prompted, accept the license agreement and specify the installation options as required (you can accept the default options).
- Reboot the instance.
[ec2-user ~]$ sudo reboot - Confirm that the driver is functional. The response for the following command lists the installed version of the NVIDIA driver and details about the GPUs.
[ec2-user ~]$ nvidia-smi -q | head 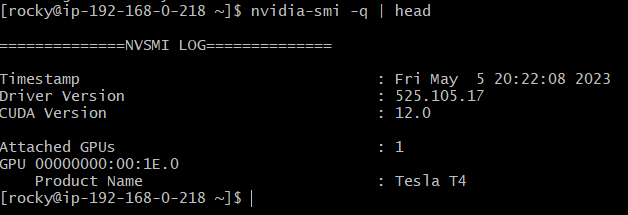
[ec2-user ~]$ nvidia-smi
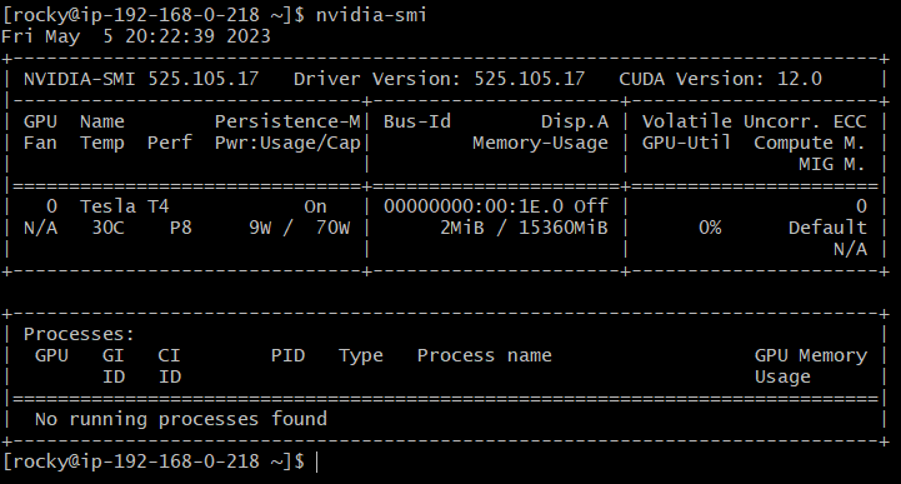
- Installing the Graphics Agent for Linux on RHEL or CentOS
- To install the Graphics Agent for Linux software:
- Download and install the repository via the https://docs.teradici.com/find/product/hp-anyware/2023.04/graphics-agent-for-linux
- Install the EPEL repository:
- sudo yum install epel-release
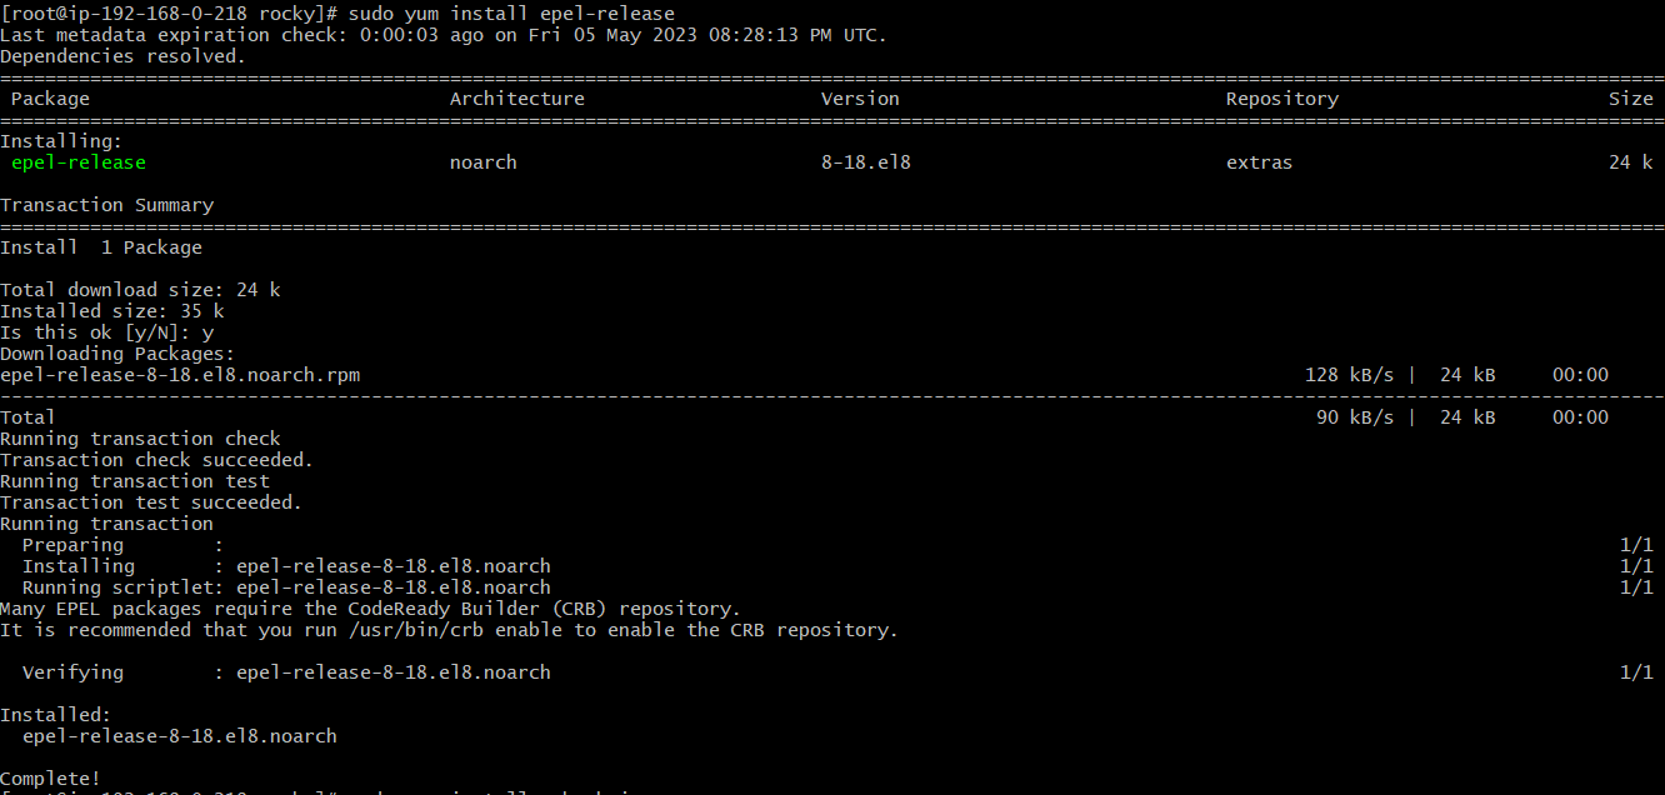
(If this command fails or unable to install the epel-release please follow the command below)
sudo dnf install https://dl.fedoraproject.org/pub/epel/epel-release-latest-8.noarch.rpm
Optionally install USB dependencies, if you intend to support USB devices other than keyboards, mice, and pointer devices. If you skip this step, USB redirection will be completely disabled and bridged USB devices will not work.
sudo yum install usb-vhci
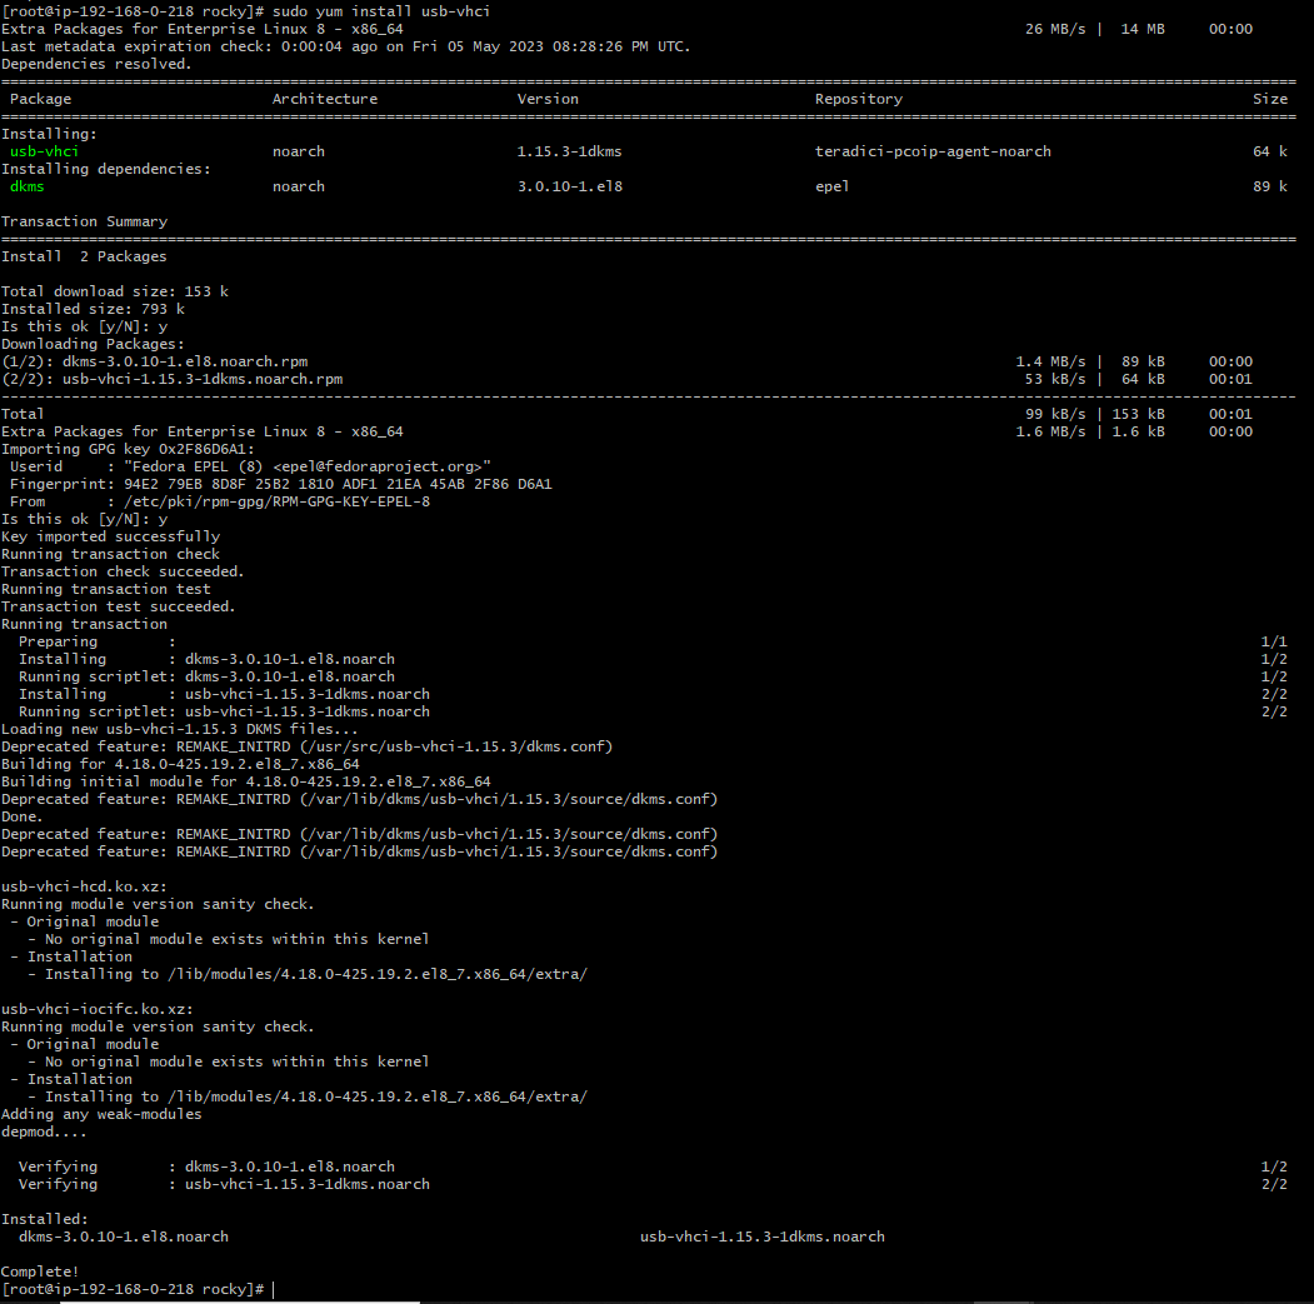
Install the PCoIP Graphics Agent for Linux:
sudo yum install pcoip-agent-graphics
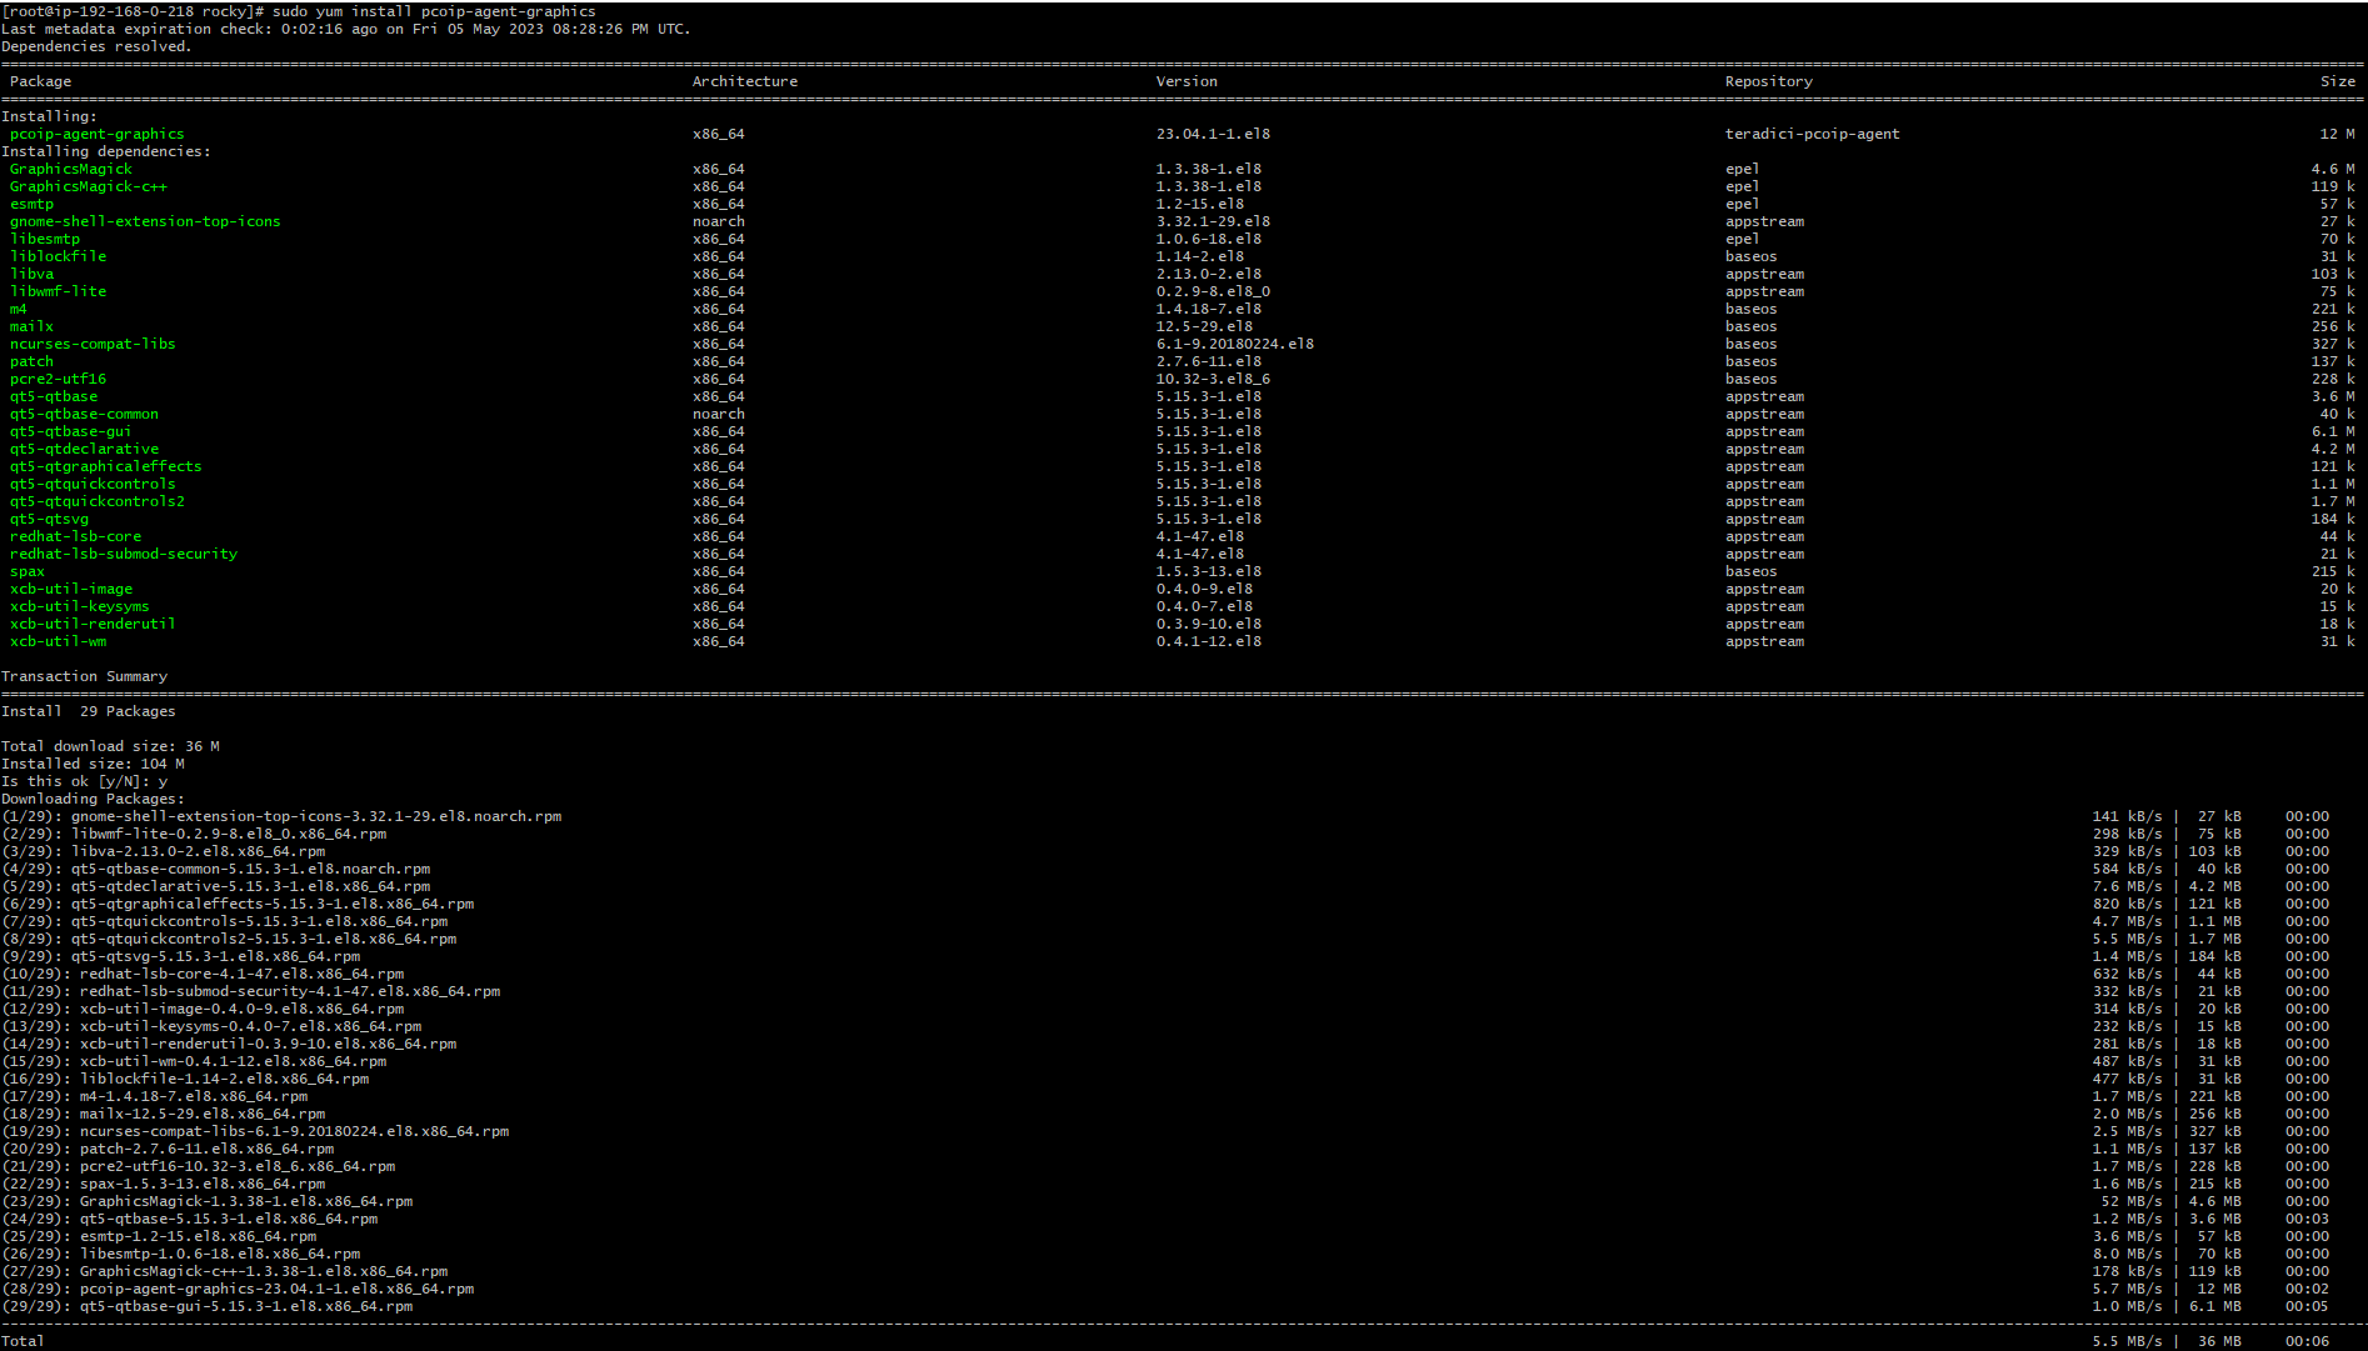
After installing the agent please register your agent
For unproxied internet connections, type:
pcoip-register-host --registration-code=<XXXXXX@YYY-YYYY-YYY>

For proxied internet conections, type:
pcoip-register-host --registration-code=<XXXXXX@YYY-YYYY-YYY> --proxy-server=<serverURL> --proxy-port=<port>
- Reboot the desktop.