Step by step guide to setup LDAPS on Windows Server using Certificate Authority
- First, we need to set up LDAP over SSL (LDAPS) to establish a secure connection between our client and the LDAP server.
- To do this, we install the "Active Directory Certificate Services" role on our Windows Server Machine. You can do this by following these steps:
- Click on the Start menu.
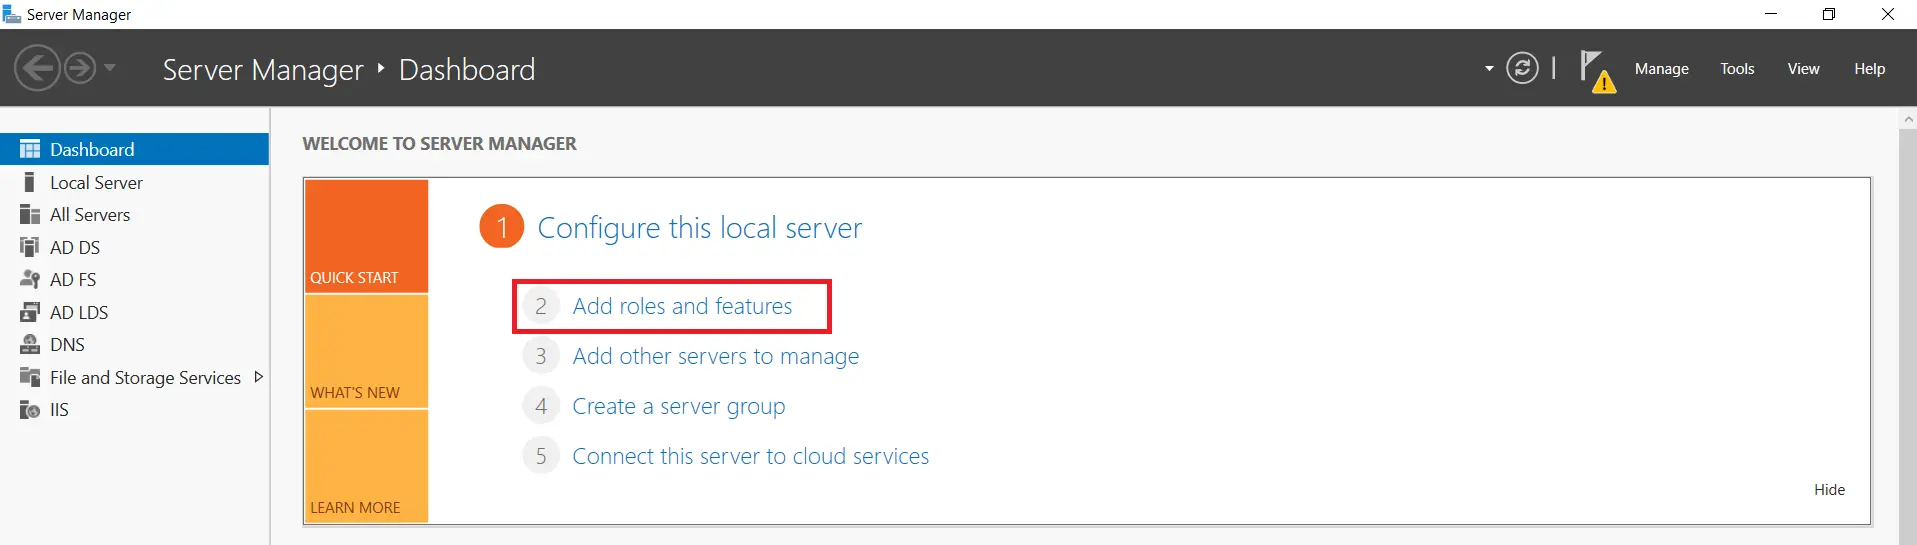
- Open Server Manager.
- Click on "Add Roles and Features".
- From there, follow the instructions to install the role. This will allow us to create and export the necessary certificate for our LDAPS connection.
- After selecting Add Roles and Features and Click on Next.
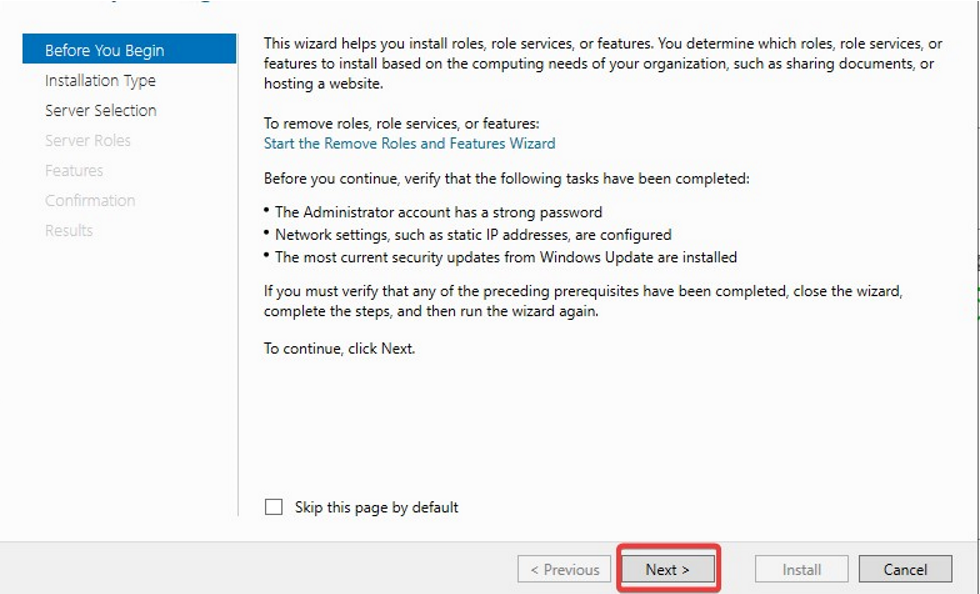
- Choose Role-based or feature-based installation option and Click on Next button.

- Choose Select a server from the server pool option & Select ldap server from the server pool and click on Next button.

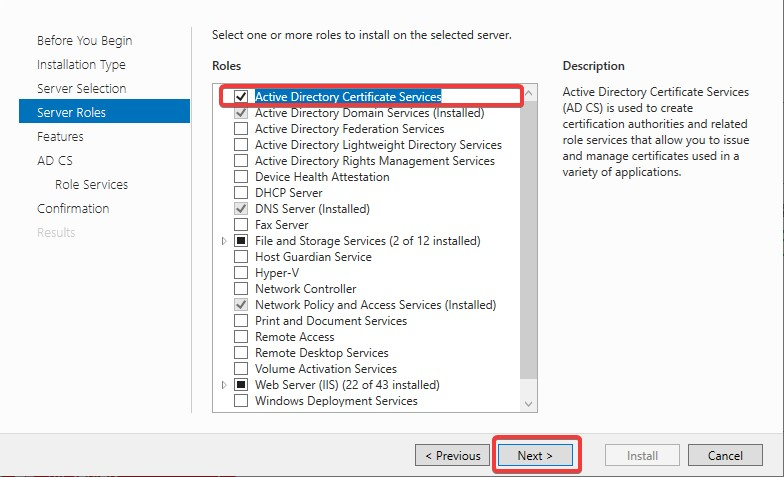
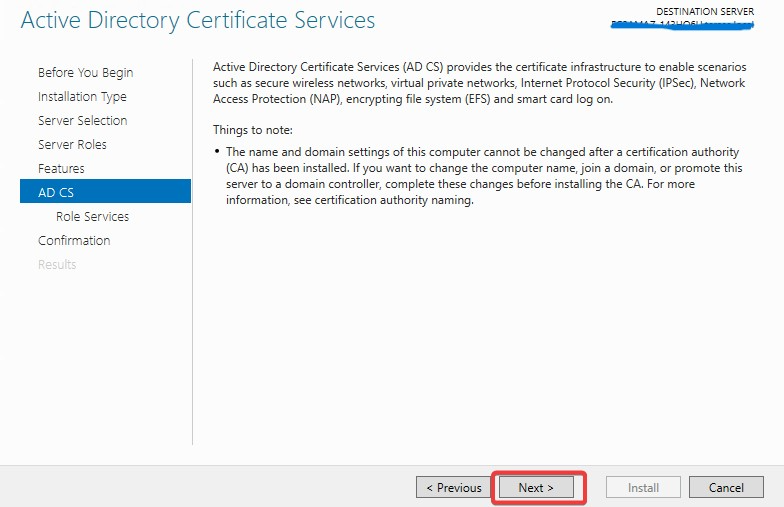
- Choose Active Directory Certificate Services option from the list of roles and click on Next button.
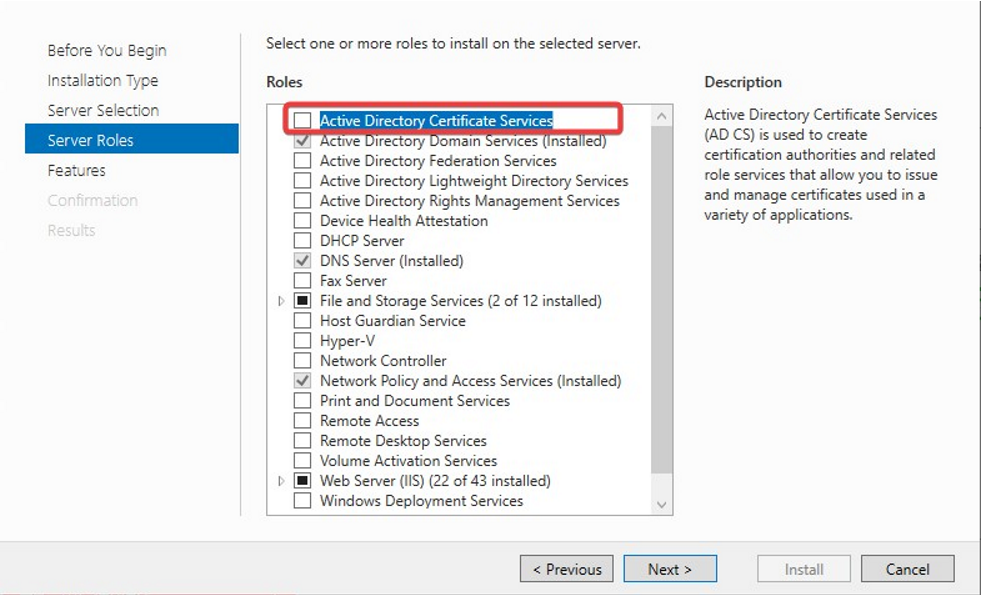
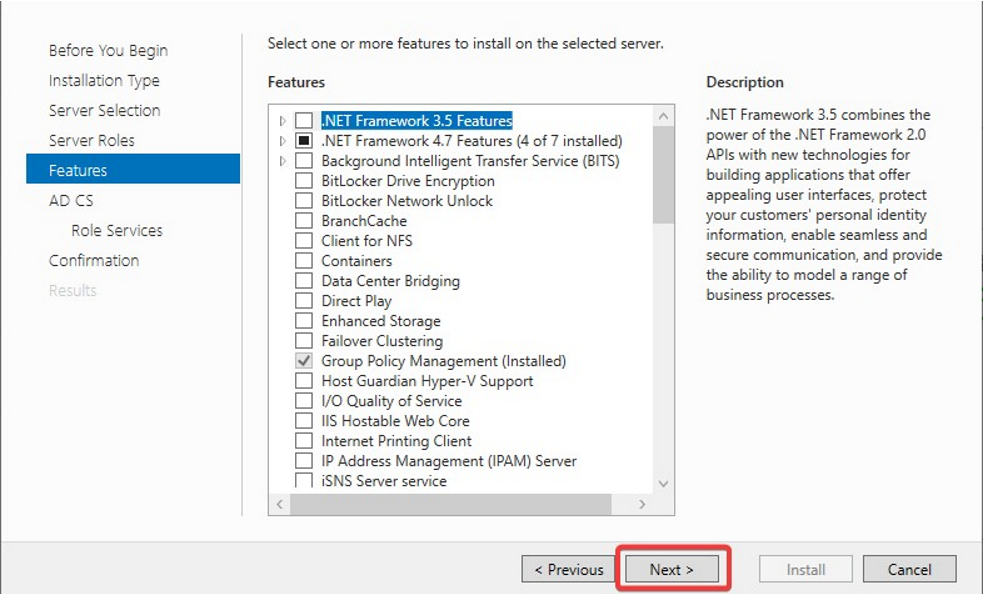
- Choose nothing from the list of features and click on Next button.
Click on Add Features

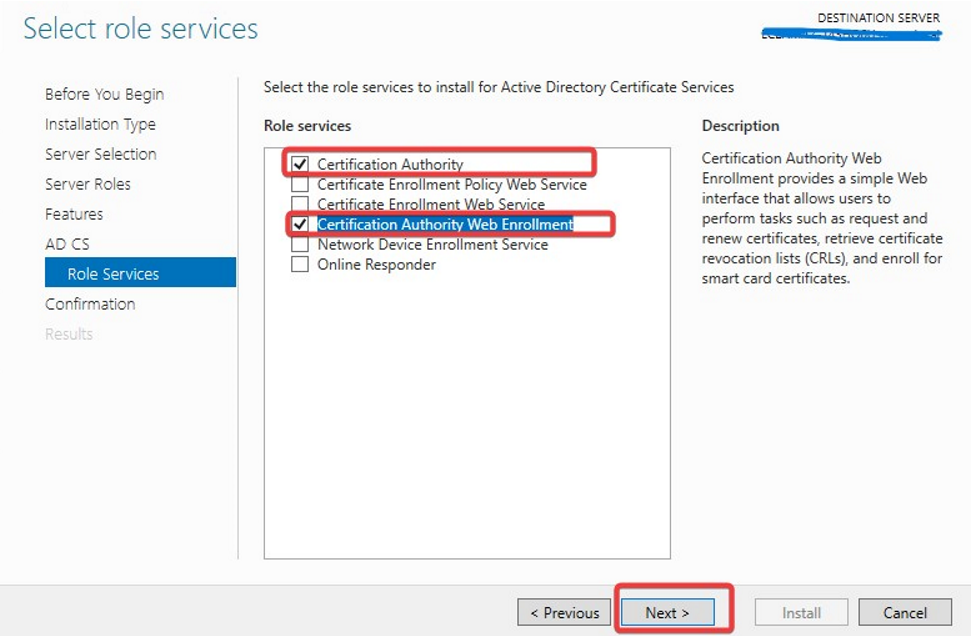
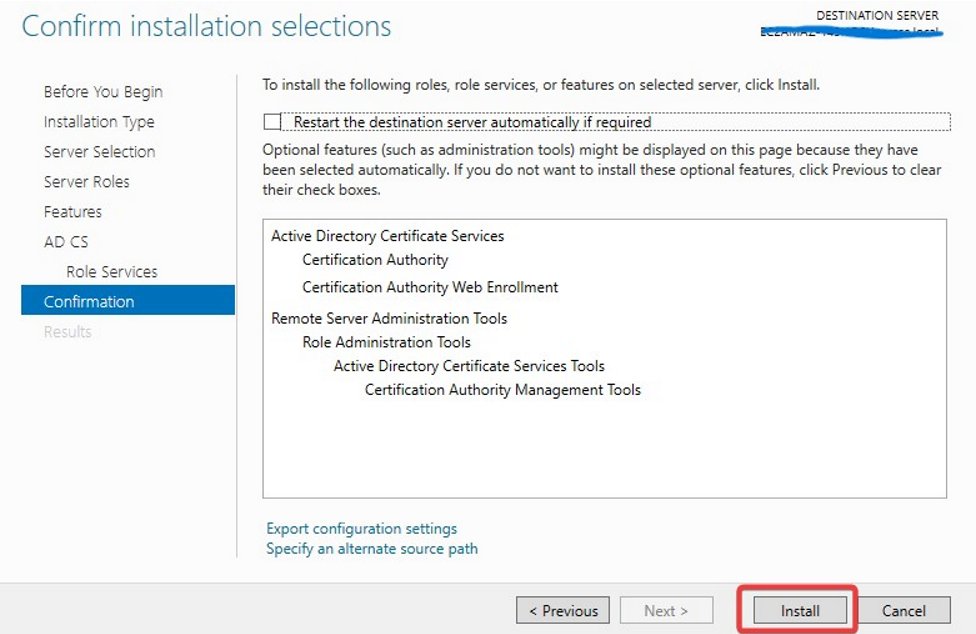
Make sure Active Directory Certificate Services and Certificate Authority Web Enrollment both are selected
On the Confirmation page, select Restart the destination server automatically if required and press Install.
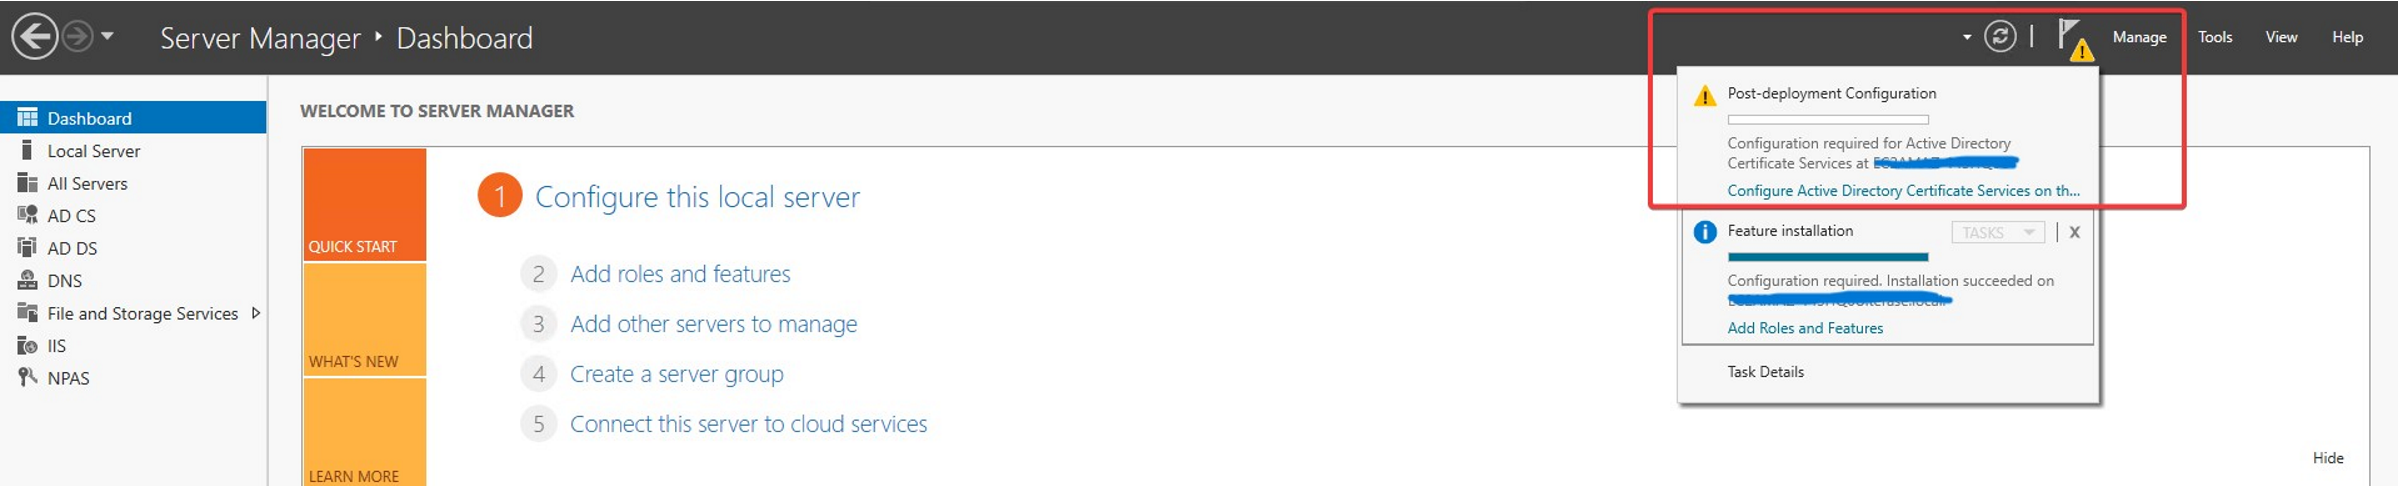
After installation, go to the notification tab and click Configure Active Directory Certificate Services.
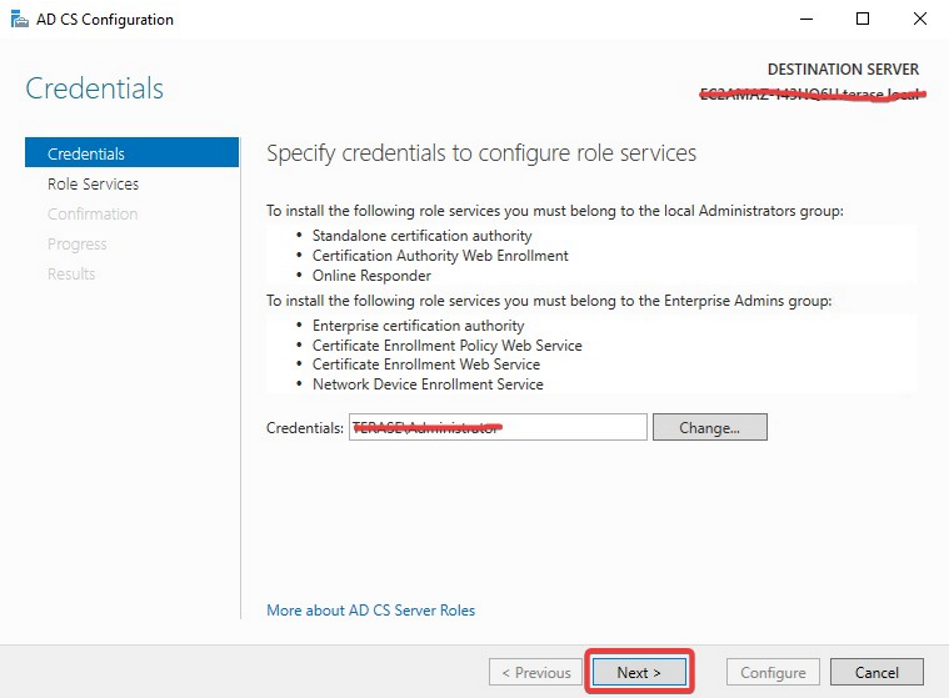
On the Credentials page, input the Credentials and click Next.
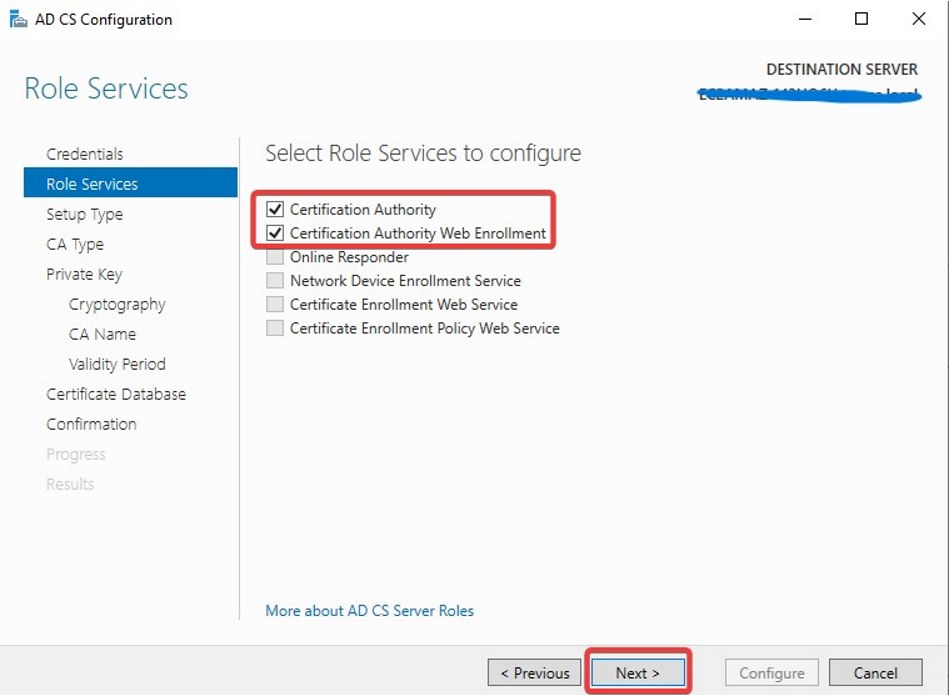
On the Role Services page, select Certification Authority Web Enrollment and Click Next.
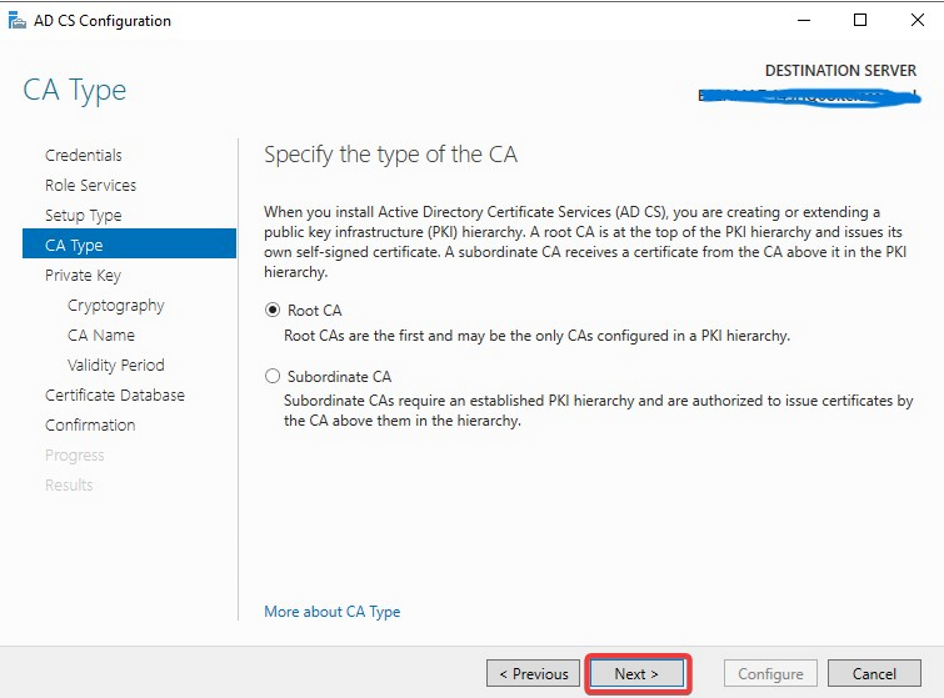
Specify the setup type of the CA
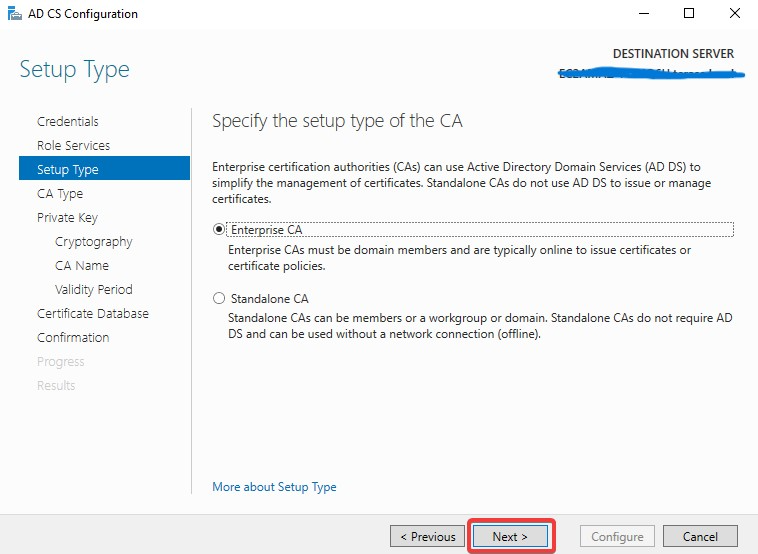
If you already have the old private key please use the 2nd option.

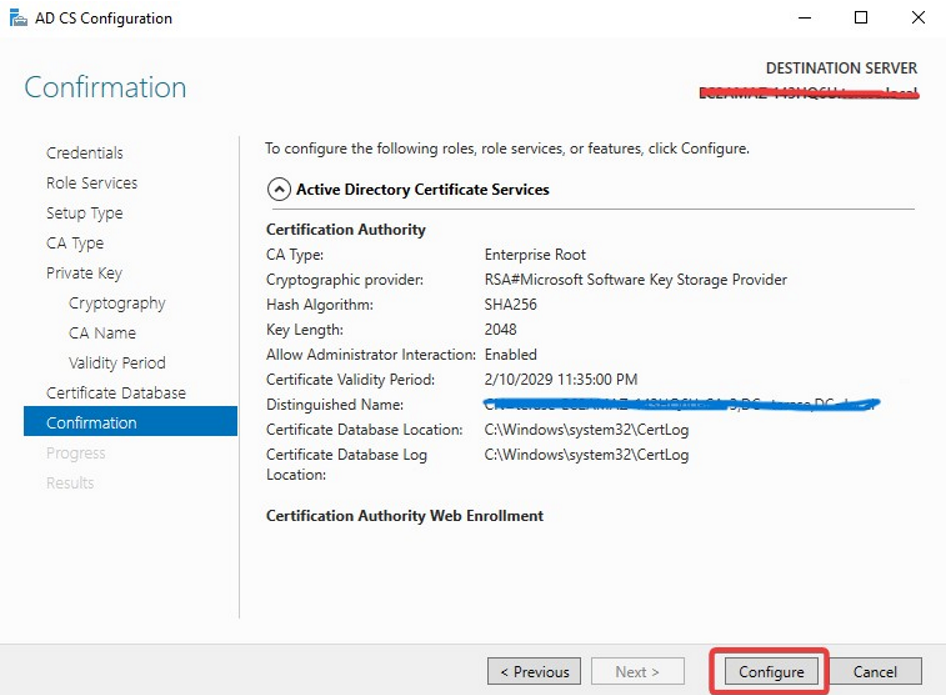
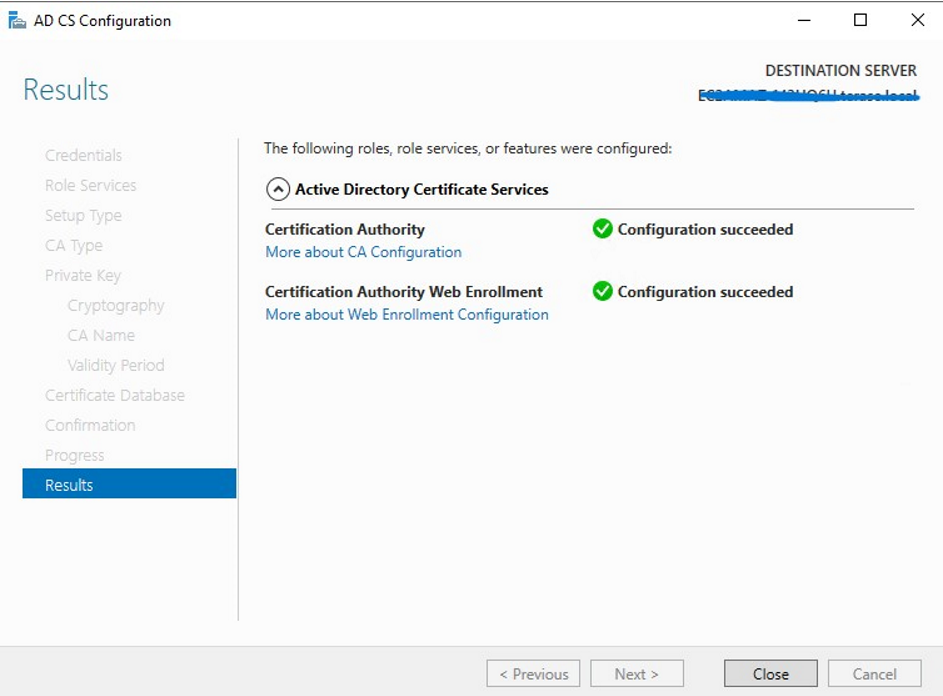
On the Confirmation page, click Configure to finish configuration.
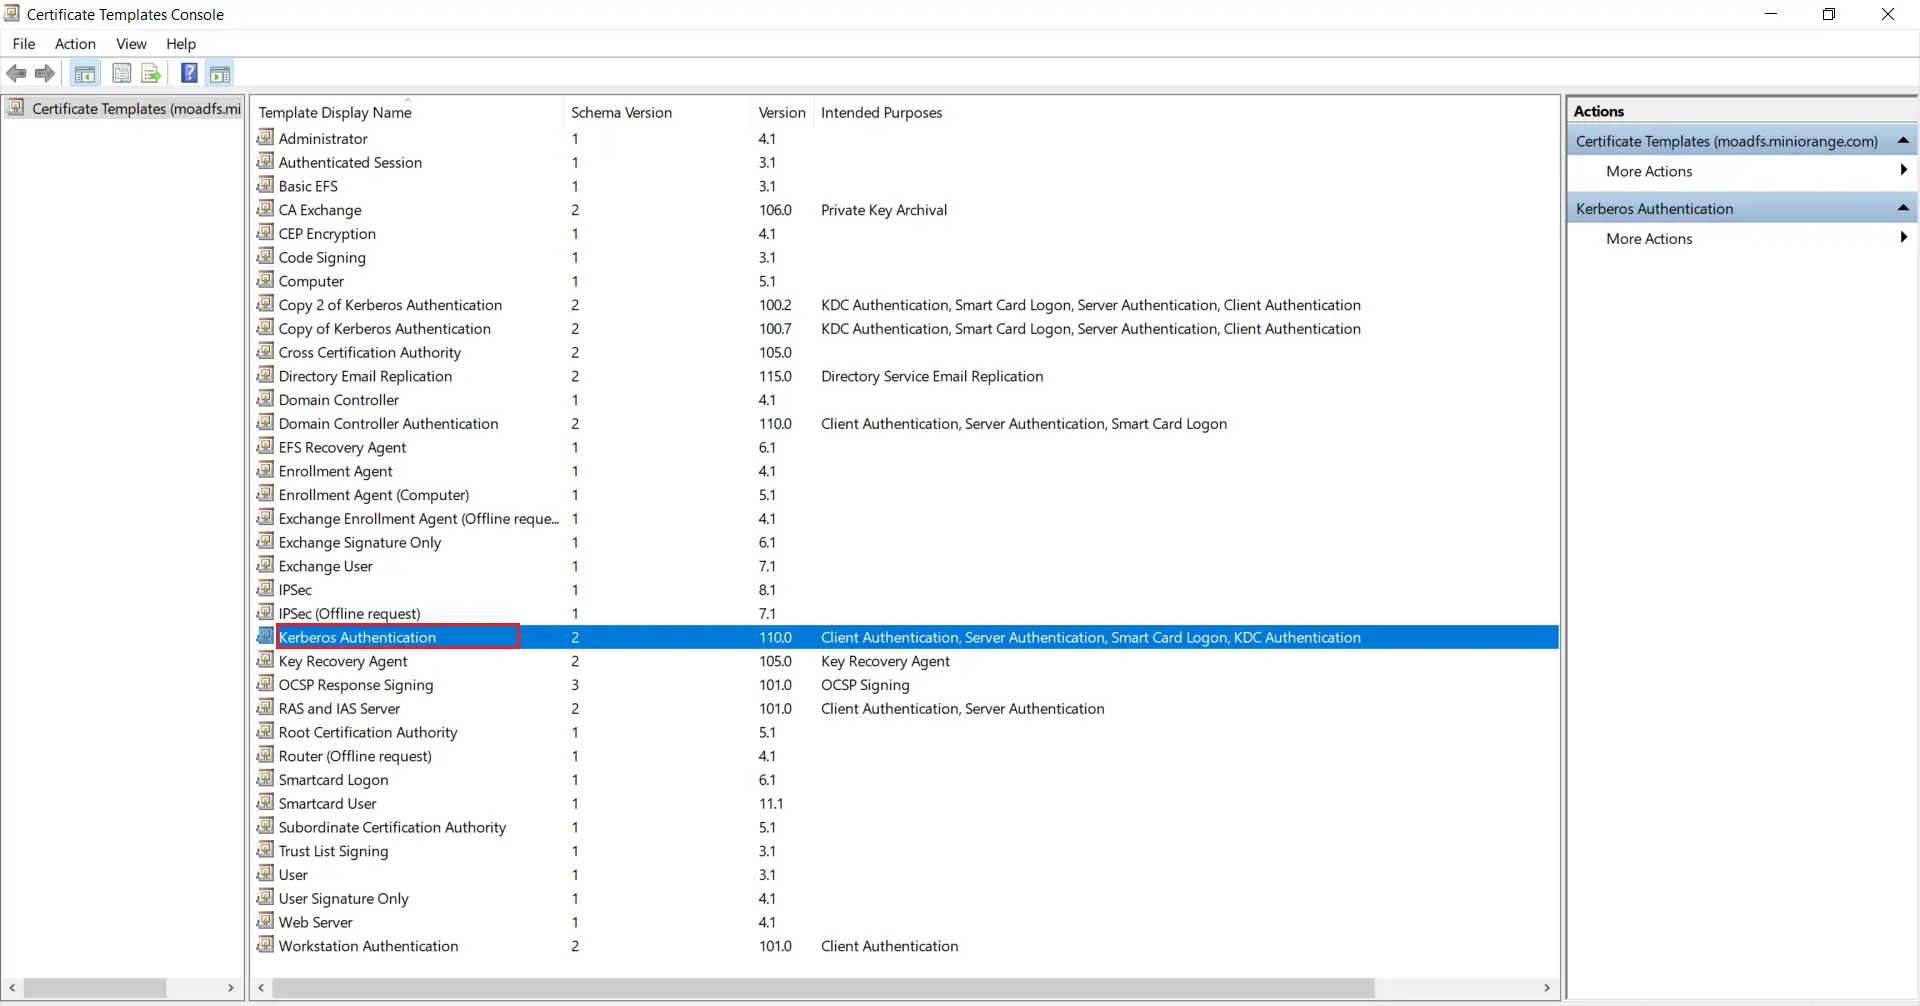
1.2: Create certificate template
- Go to Windows Key+R and run certtmpl.msc command and choose the Kerberos Authentication Template.
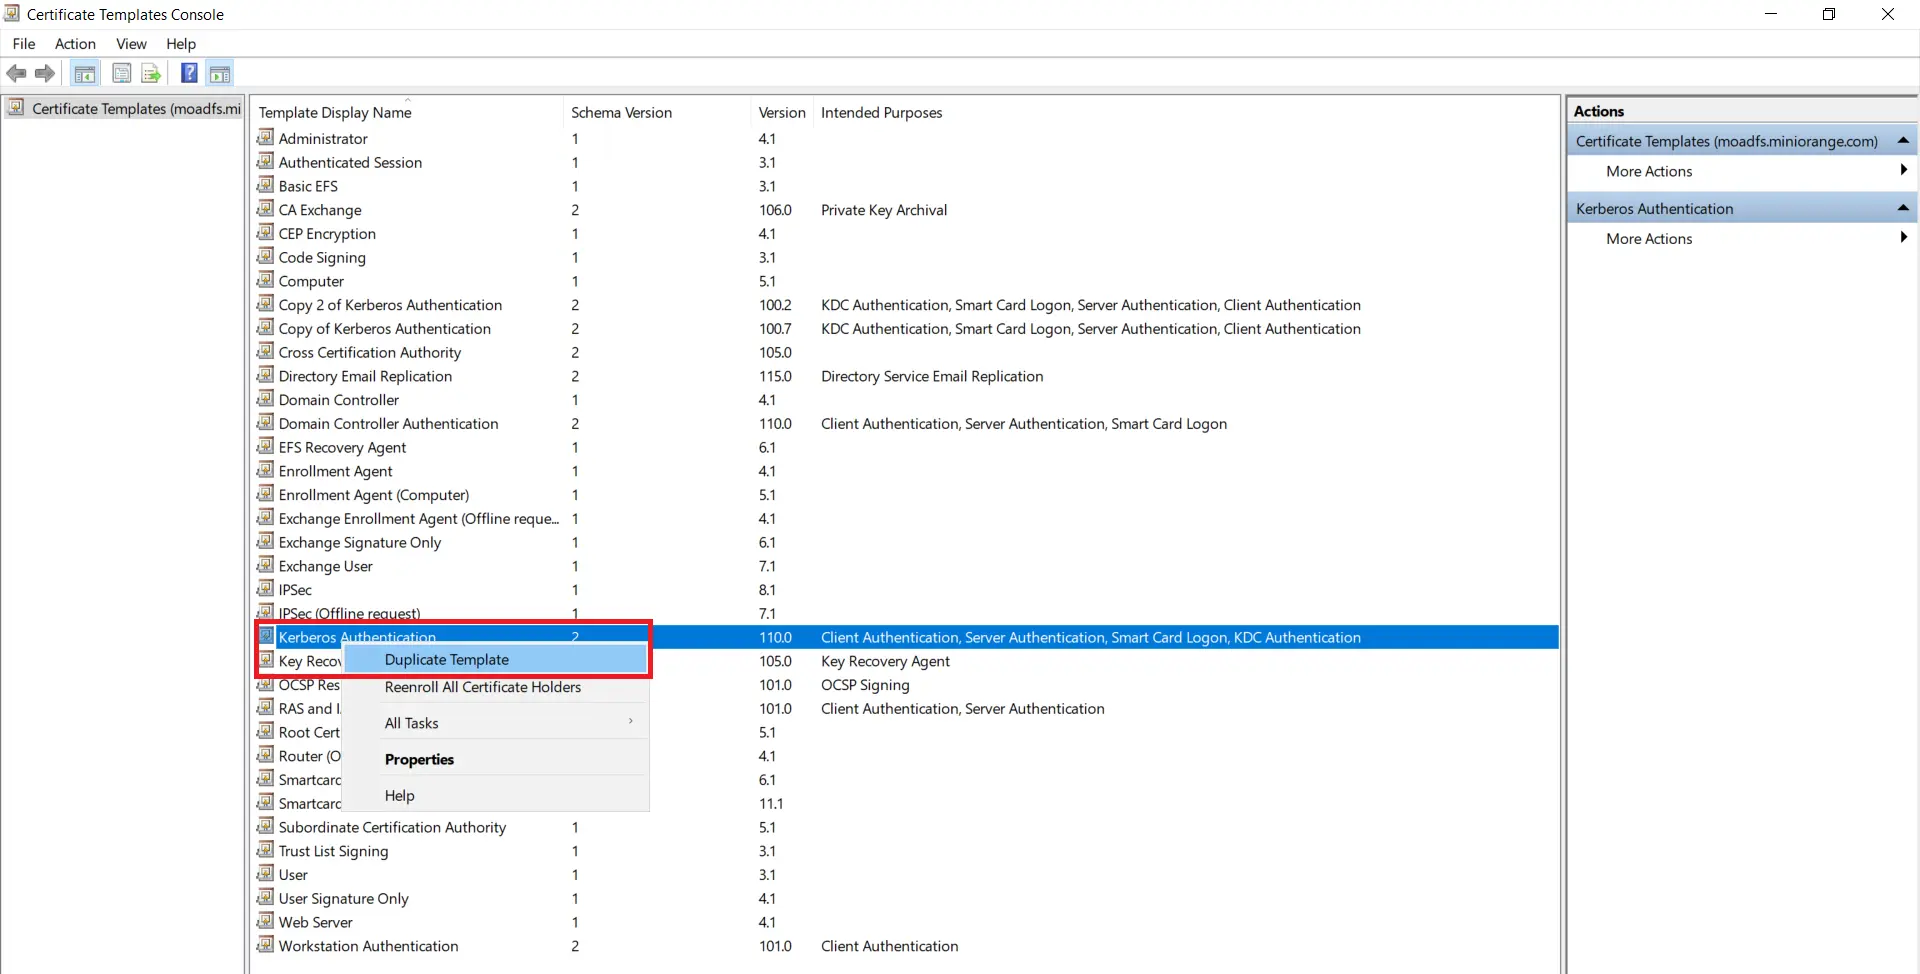
Right-click on Kerberos Authentication and then select Duplicate Template.
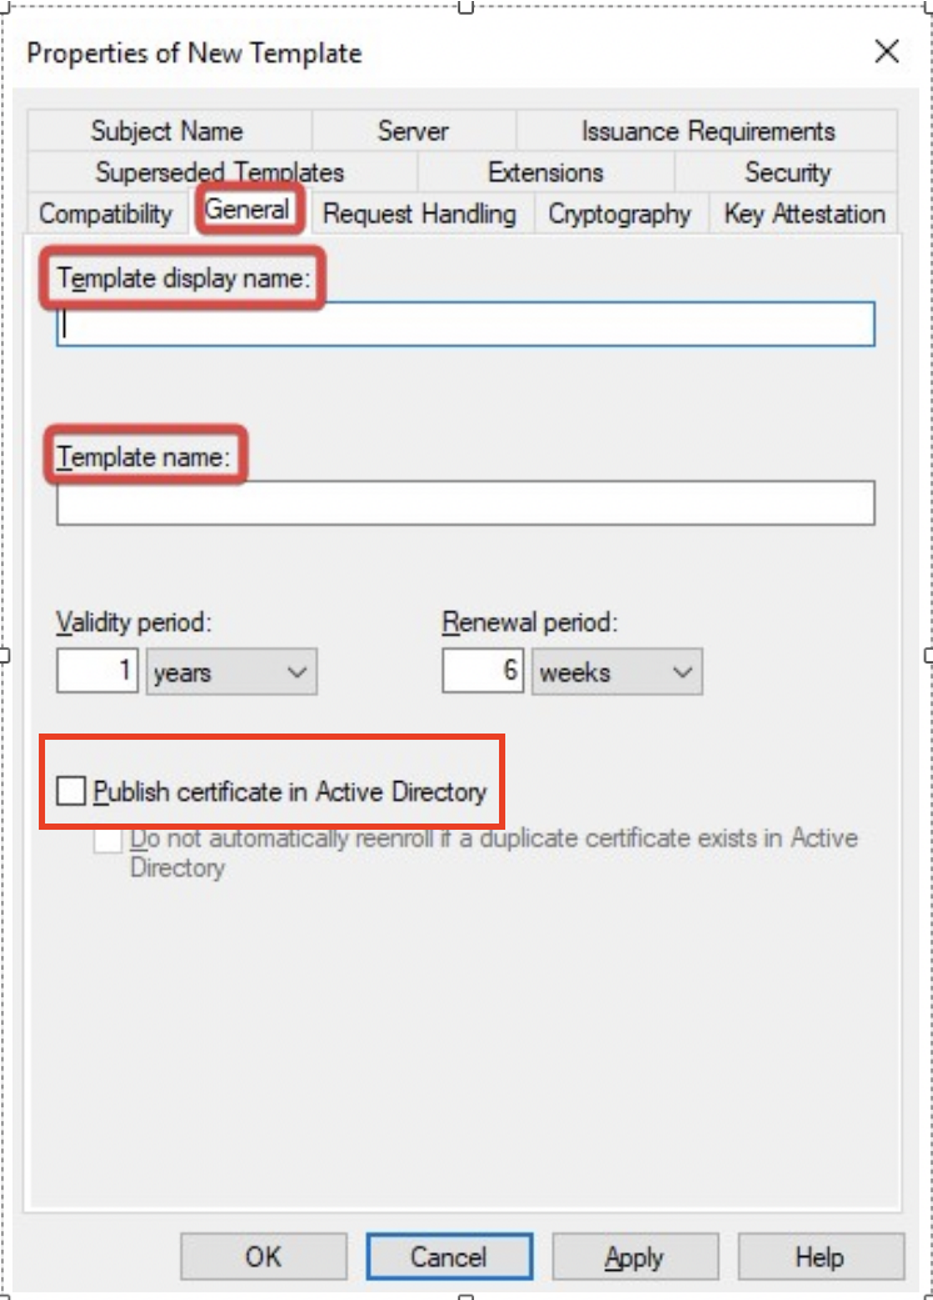
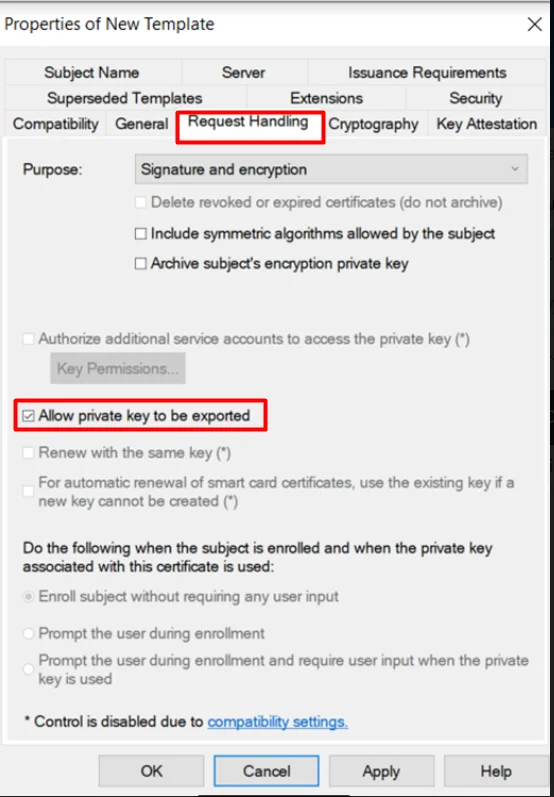
- The Properties of New Template will appear. Configure the setting according to your requirements.
- Go to the General tab and Enable publish certificate in Active Directory option.
- Go to the Request Handling Tab and Enable ‘Allow private key to be exported’ option.
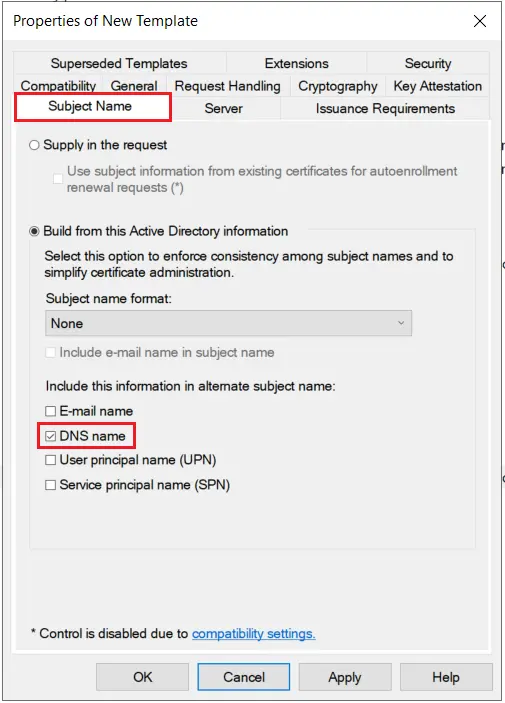
- Go to the Subject Name tab and Enable subject name format as DNS Name and click on Apply & OK button.
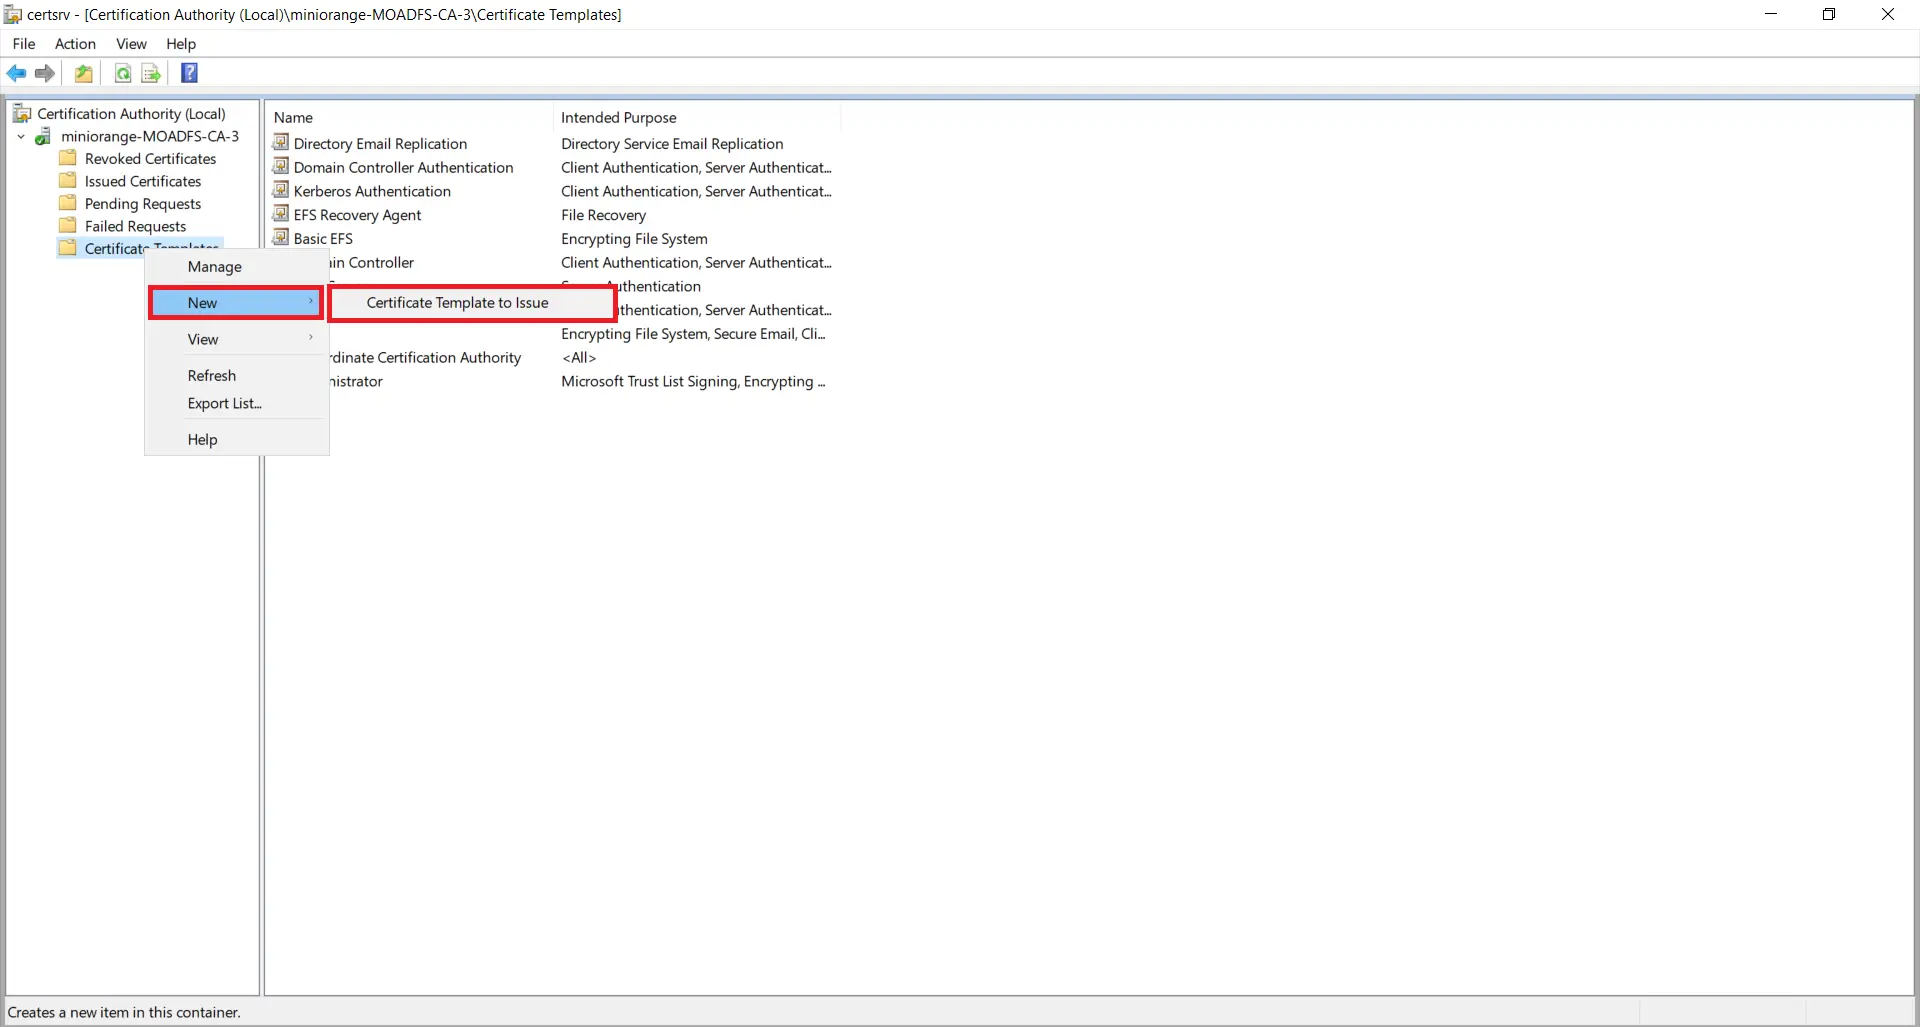
1.3: Issue certificate template
- Go to Start -> Certification Authority Right click on "Certificate Templates" and select New-> Certificate Template to Issue.
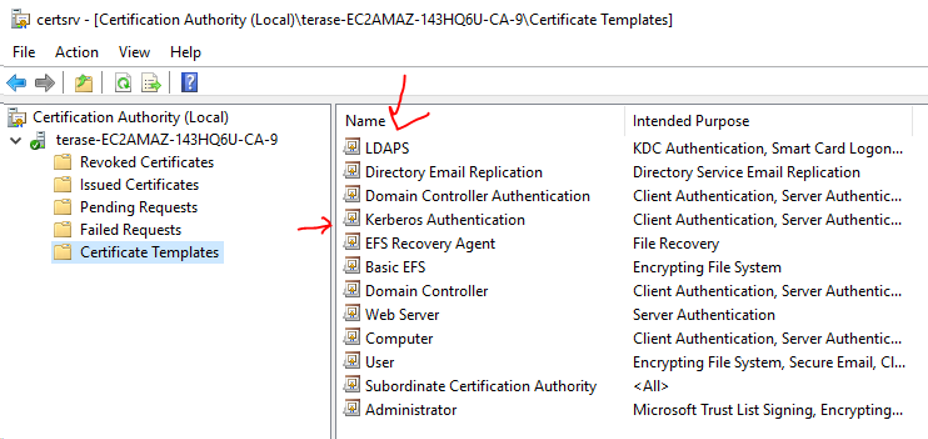
- Now, select your recently created Certificate Template and click on ok button.
1.4: Request new certificate for created certificate template
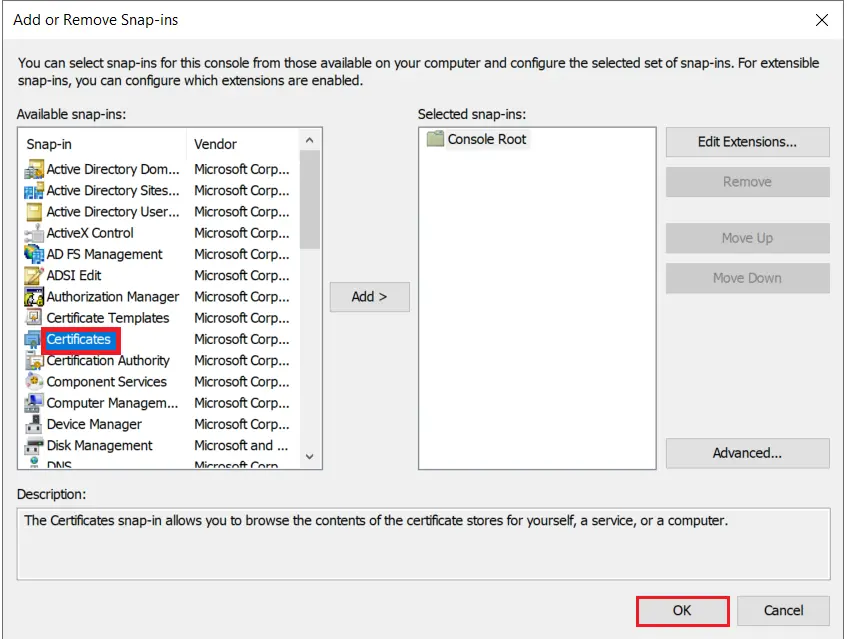
- Go to Windows Key+R -> mmc -> File -> Add/Remove snap-in. Select Certificates, and click on Add button and then click on Ok button .
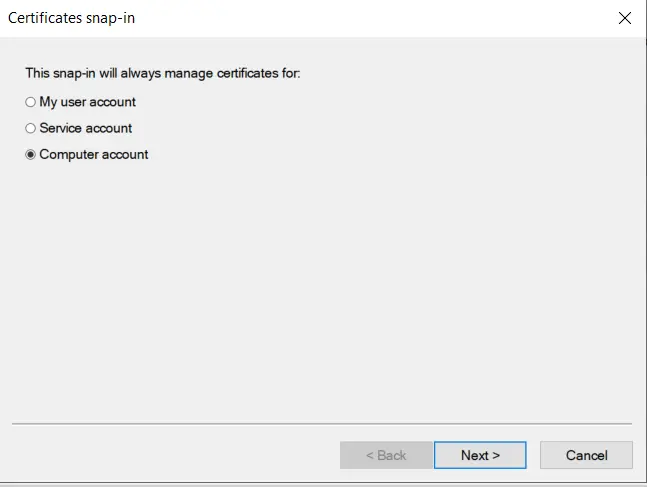
- Select Computer account option and click on Next button.
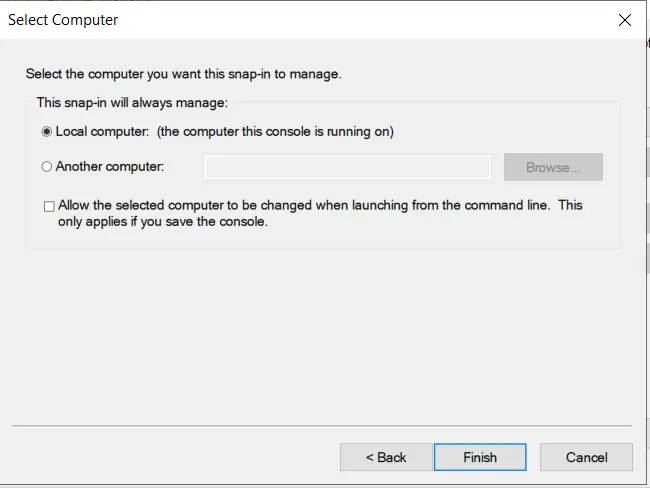
- Select Local computer option and click on Finish button.
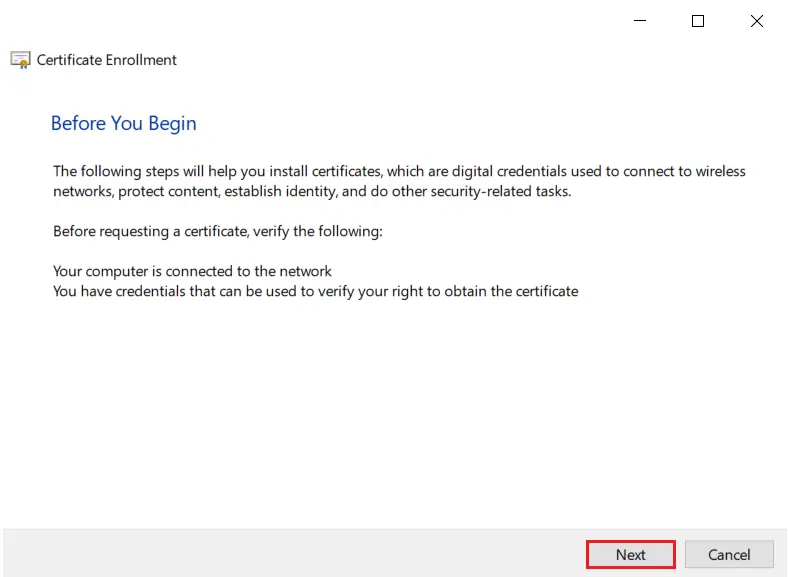
- Now, right Click on Certificates select All Tasks and click on Request for new Certificate.

- Click on Next button.
- Click on Next button.

- Select your certificate and click on Enroll button.
- Click on Finish button.
1.5: Export the created certificate
- Right click on recently generated certificate and select All tasks -> Export.
- Click on Next button.
- Select Do not export the private key option and click on Next button.
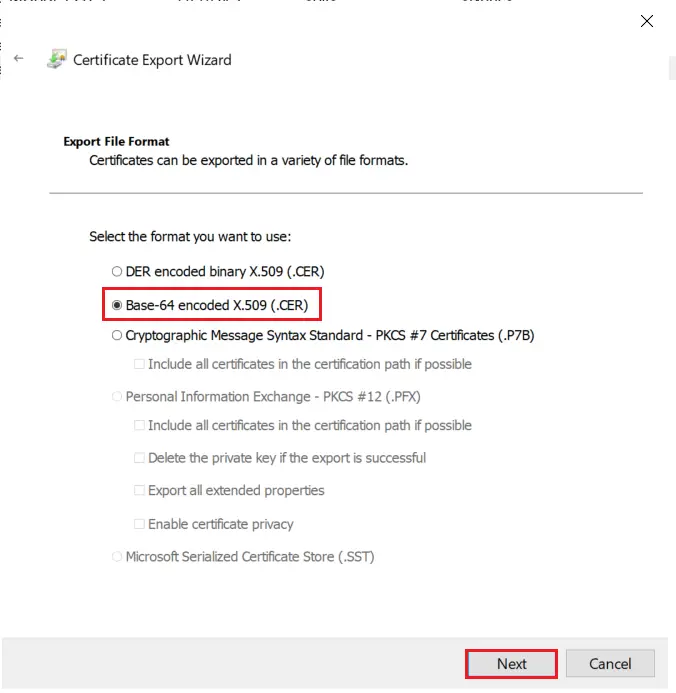
- Choose Base-64 encoded X .509 file format and click on Next.
- Export the .CER to your local system path and click on Next.
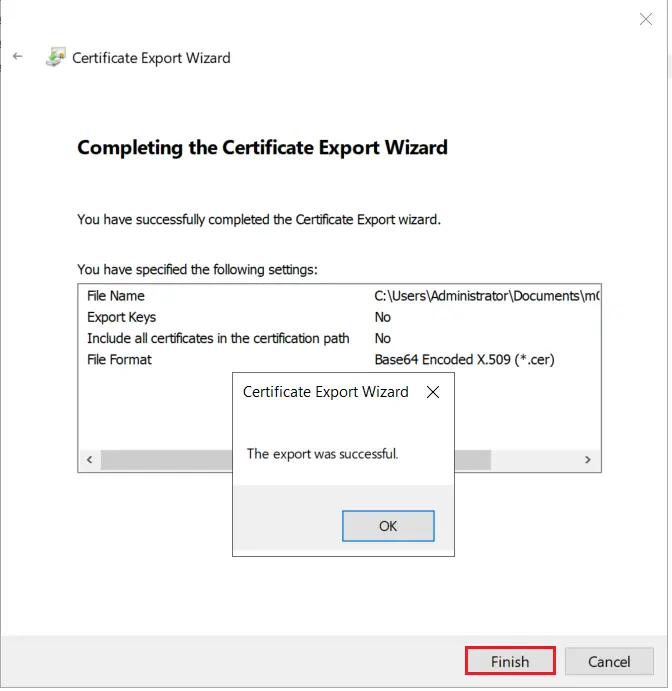
- Click on Finish button to complete the certificate export.
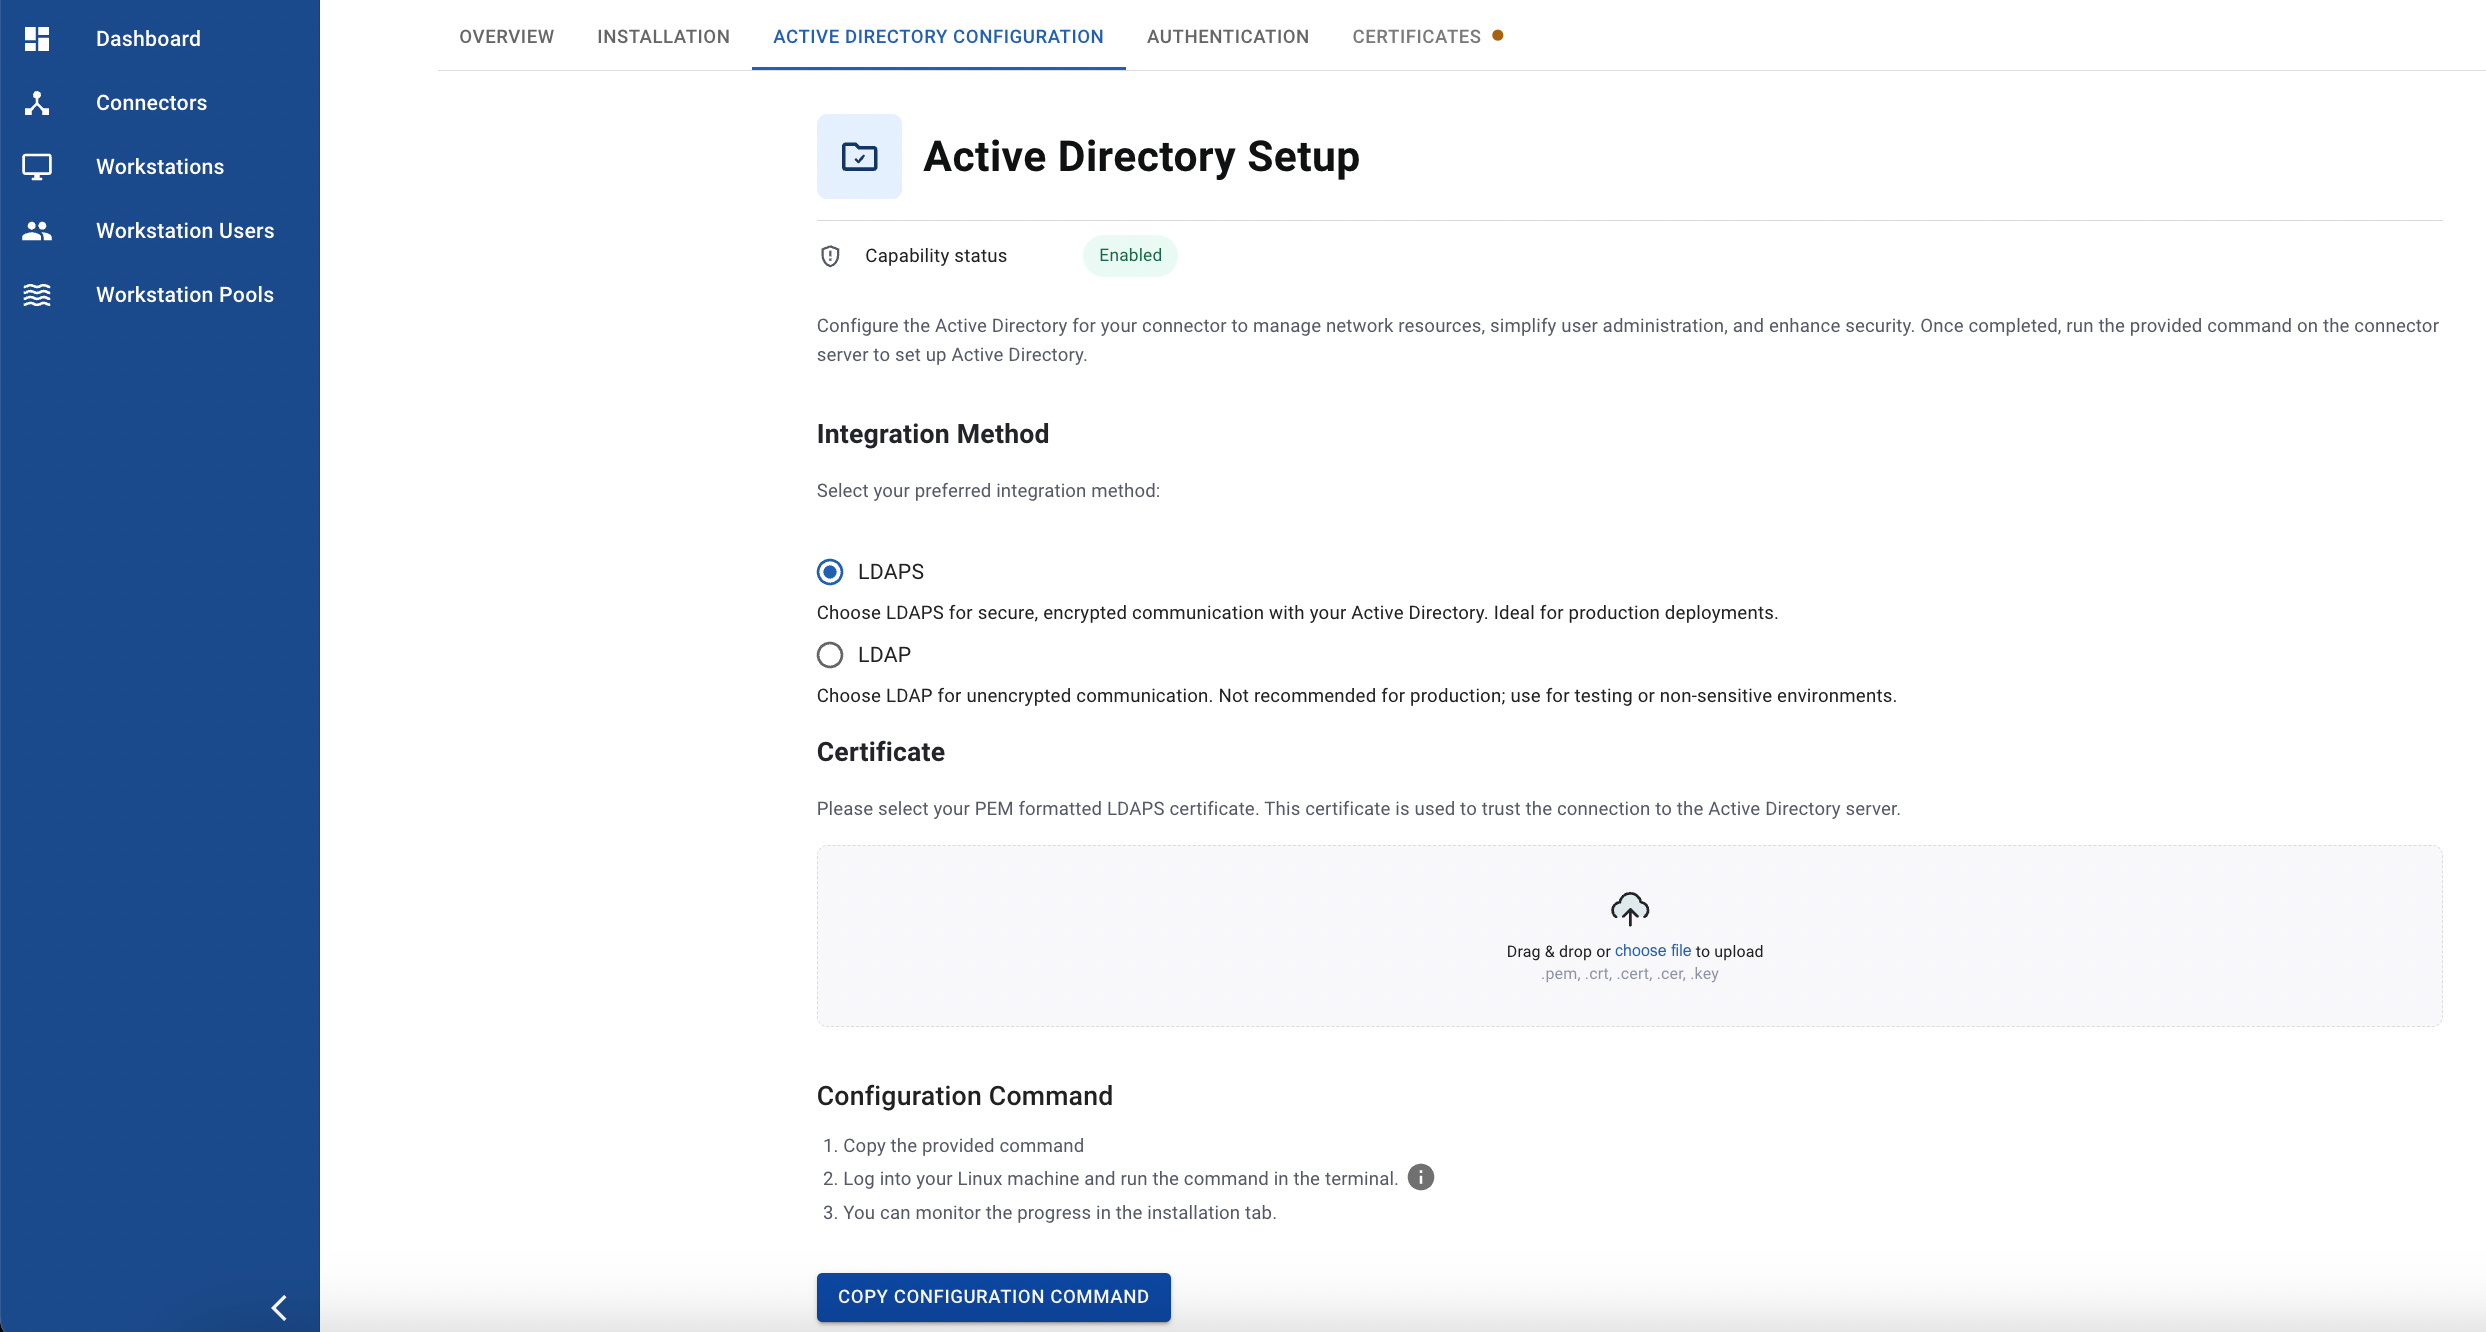
2. Configure LDAPS on the Connector
- First, we need to change the certificate format from .cer to .pem.
- Then, upload the certificate to the Anyware Manager.
- Finally, copy the configuration command and run it on the connector.